Billing a client
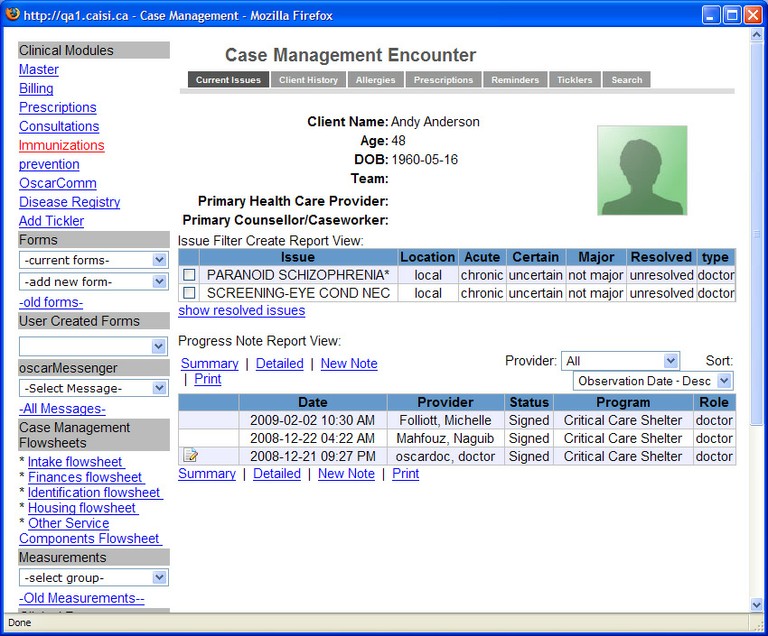
You can bill a client directly from the client’s Case Management Encounter screen.
1. Open a client’s Case Management Encounter screen.

2. Under Clinical Modules in the navigation panel at the left of the screen, click Billing to open the Ontario Billing form, similar to the graphic below:

3. On the upper right panel of the screen, select the appropriate options in their drop-down boxes, including Billing Physician, Visit Type, Billing Type, Visit Location and Admission Date.
4. On the upper right panel of the screen, next to the Admission Date box, click Billing form. The Billing Form popup appears, showing a list of billing types:

5. On the list, click the appropriate billing type, for example, General Practice.
After you finish entering all the required information, the form is populated similar to the graphic shown below:

6. Beside the Dx box in the middle of the upper portion of the screen, click Search to open the Diagnostic Code Search dialog box:

6. Select the diagnostic code you need for your billing. The dialog box closes, and the Ontario Billing form reopens showing the code you added.
7. If you want to add another code, click Search beside the dx1 box, and repeat step 6. You can add one more code (for a total of 3 codes), by clicking Seach beside the dx2 box.
8. For specialist billing, navigate to the Service columns shown on the lower portion of the screen, similar to the the graphic below:

9. Double-click each code that relates to specialist billing, for example, K030A. The Specialist Billing area above the Service columns is now populated by the code(s) you selected, similar to the graphic below:

10. In the Specialist billing area, in the Time and % columns, enter the time and % values beside code number.
11. At the very top right of the billing form's screen, click the Next button. The Confirmation screen opens. Click the Save button to complete the process:

Document Actions

