Uploading Client Documents
Once you are in a client’s Case Management Encounter screen, you can upload documents, electronic files or scanned images.
To upload a client document
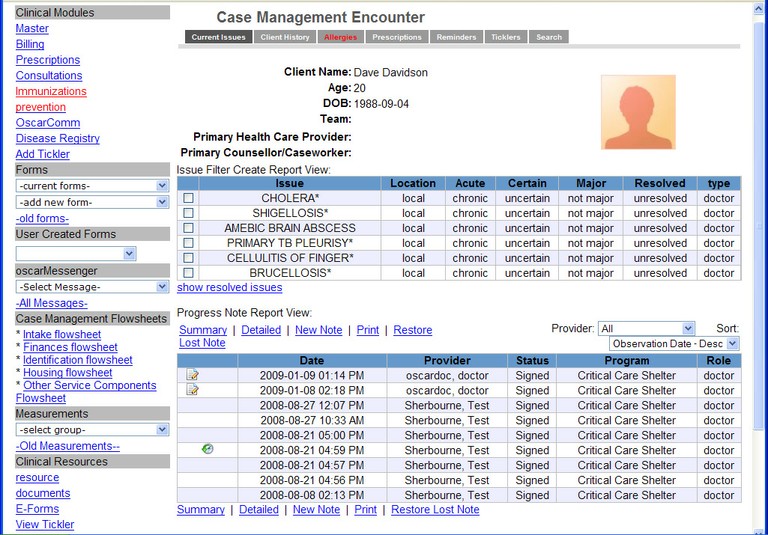
1. Open a client’s Case Management Encounter screen, similar to the graphic below:

2. In the Clinical Resources area in the Navigation panel on the right, click documents. The eDocs window opens, similar to the graphic below:

3. Click +Add Document at the top of the screen; the screen refreshes, similar to the graphic shown below:

4. Do the following:
-
Beside the Select Type text box, click the arrow, and select the document type, such as lab or legal.
-
At the left of the screen, click the arrow beside the Browse text box and, in the File Upload window, locate and select the file you want to upload. Click Open, the File Upload window closes.
-
Click the Add tab to upload the file. The file appears in the Document Description of the window.
5. Click Done – Close Window.
Document Actions

