Uploading Client Photos
Picture identification in a client’s Case Management Encounter window helps prevent identity theft and act as valid identification for that client.
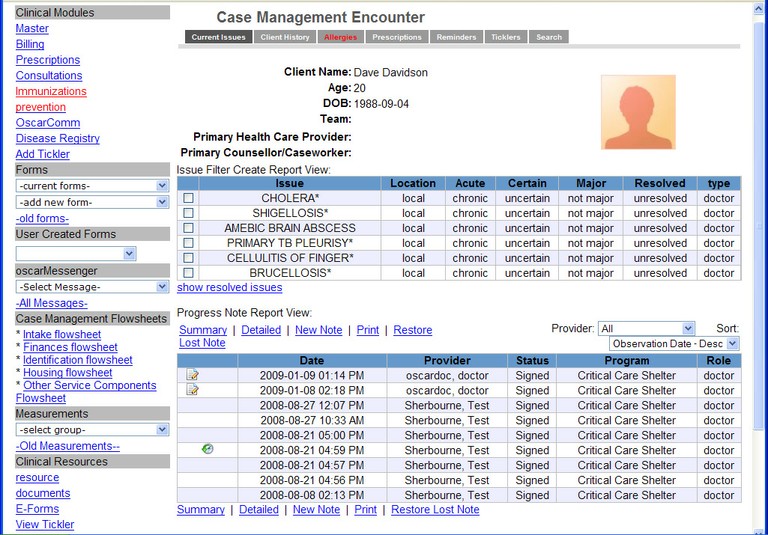
Note that the client’s picture must first be uploaded to the hard drive of your computer before it can be uploaded to the Case Management Encounter window.
To upload a picture of a picture:
1. Open the Case Management Encounter screen.

2. At the top right corner of the screen, click the orange shadow box containing the darkened silhouette. The Client Image Manager pop-up window appears:

3. Click the Browse button and, in the File Upload window, locate and select the client image, and click Open. Note that the image must be in either *.gif or *.jpg format.
4. Click the Upload button. Once the upload process is finished, the Client Image Manager pop-up closes and, in the client’s Case Management Encounter screen, the orange-shadowed silhouette is now green, similar to the graphic shown below:

5. To view the client’s picture, position your mouse over the green-shadowed silhouette. The client’s image is displayed, and stays in view for about 5 seconds, before reverting to the silhouette.This ensures that the client’s picture is not in plain view for long periods of time. Photos can be removetd/updated at any time by following the steps above.
Document Actions

