3.1 User Management
How to manage users in OSCAR 15
Add a New Provider
Step 1. Add a Provider Record for a New User
- The OSCAR database is built on relationships to any given user number. It must be unique. The easy way (for small practice) to get a new unique number is to press the suggest button and skip to step (8) below
- Larger practices will want to use a different series of numbers for different providers such as 100 series for MD's. 200 for locums, 300's for nurses and so on. Before you can add a new provider, you must look through the existing providers to see what your last provider number was.
- Click the ‘Search / Edit / Delete Provider Records’ link under
the User Management heading.
- Click the ‘Search’ button without
typing any name in the box, to get the full list of providers in the
database

- Click on the ‘ID’ heading to put the ID numbers in
numerical order (each heading allows you to sort the database by each of
the heading titles when clicked)

- After noting your last
provider ID number, decide what the ID number will be for the new
provider and write it down.
eg If you keep nurses in the 300 series and your last Nurse is Jeanne Mance 301 the next Nurse should be 302 .
- Click the ‘Add Provider Record' link
- Enter the provider
number you wrote down from the previous steps.

- Fill in all the appropriate information for the new user
- Provider No: Example = 101. Place a unique number to identify this user
- Type: Example = doctor. from the
drop-down menu, select the user's role in the clinic. This gives
default access provisions to the user to different parts of the program
TIP Set all users to "doctor" here regardless of status. Program access will be configured using a newer method. NOTE: the "type" value is being phased out in future versions of Oscar. - Specialty: Example = FM for Family Medicine. This and the Team show in the list when you search providers.
- Team: Example = A, B or Docs.
- 3rd Part Billing #: This field is used when an outside company does the billing for an office or clinic. This is usually the group number for the billing agency.
- Billing #: Example = 123456. This field is used if the individual is a doctor and would be their Ministry of Health billing number. There are billing function implications with this field. (E.g.: If the individual is a doctor and a number is not put in here, they will not show up on the provider list in the billing form.)
- Specialty Code #: Example = 00 (for General Practice).
- Group Billing #: Example = B008, This field is used when the physicians are designated by the Ministry of Health as a group and are issued a group number.
- CPSID #: Example = 57111, this is the number assigned by the College of Physicians and Surgeons to the physician.
- Self Learning username & password: will be used for a self learning program in the future
- Status: Example = 1 for active 0 for inactive.
- Bill Center: The location of the closest OHIP billing office.
11. Click the ‘Add Provider Record’ button when finished
Step 2. Add Login Information
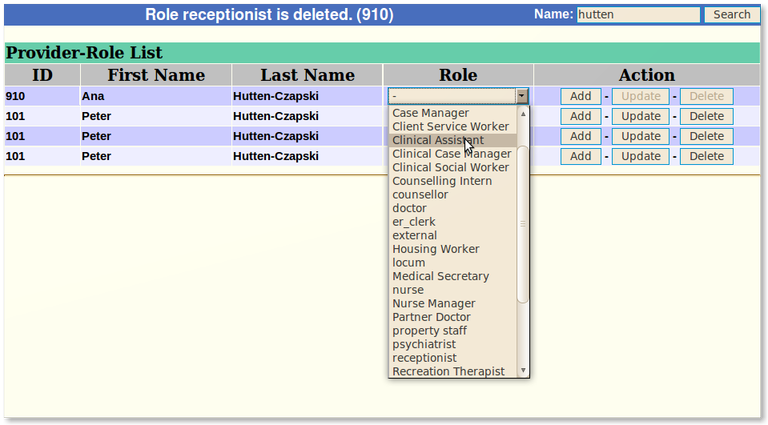
Step 3. Assign Role(s) For the User
By default new users program access is severely restricted. You must assign one or more of the assigned roles to the user so that they can access the parts of OSCAR that they need.
Step 4. Scheduling Users
Document Actions


